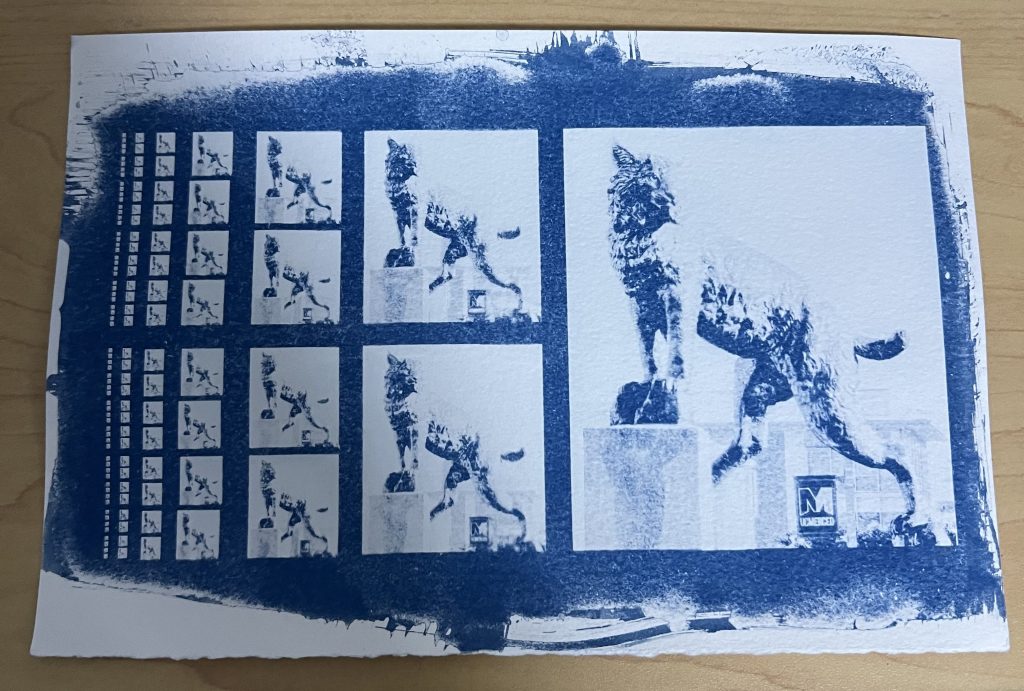
Following yesterday’s cyanotype printing lab, today’s class was spent discussing the lab’s results, key takeaways, and areas for improvement. The first step that the class had variations in was the application of the photoresist (the chemical mixture). While most people used the mask to mark the area that should be covered, some people adhered to that boundary more than others. For example, I was quite careless when I coated my substrate because I didn’t think that it would affect the images created. A select few skipped the marking step and just covered the entire substrate. These differences in the preparation of the photoresist created differences in the resulting images because of the varying concentrations of the chemical mixture in the desired printing area.
Another major difference between each group’s process was the exposure unit. The groups that used the 100-Watt UV source with a taller box did not have to expose their samples to the light for as long as the groups that also used the 100-Watt source but with a shorter box (5-6 minutes vs. 8-9 minutes respectively), which shows that the light is stronger at a further distance. However, I’d imagine this effect is only applicable to a small distance, and if placed far enough, the strength of the light would begin to decrease. Another group used a 12-Watt source with the shorter box, but it wasn’t strong enough to create a lasting image even with 12 minutes of exposure. My group used the sun as our light source, but since the distance between Earth and the sun is very large, we had to expose our samples for 5-6 minutes even though the sun is significantly stronger than 100 Watts.
Finally, we discussed the rinsing/developing stage. It was only then that we all realized that we didn’t have a structured procedure for this stage. Rather, we all simply went with our gut feelings and trusted that our results were “good enough.” For example, the class was divided between people who placed the image in the water facing up and people who placed it facing down. While placing the image face-down allows the unreacted ions to fall to the bottom of the water basket rather than falling back onto the paper, placing the image face-up allowed us to see the ions washing away. Additionally, the ways we mechanically agitated the water to thoroughly rinse off the ions, as well as the duration of mechanical agitation and the frequency of water changes could’ve played a role in the varying image qualities. Another factor that we failed to consider was the type of water that we used. None of us bothered to ask if using distilled water was an option, instead immediately opting to use tap water because it was readily available. However, tap water has many minerals, dust particles, and other contaminants that could’ve reacted with the photoresist and caused defects in the final images.
This lab discussion was an extremely eye-opening experience for me. While I already knew that lab procedures had to be detailed and precise, I never realized that I had neglected so many crucial factors because they seemed so trivial in the moment, and I now appreciate scientific discovery a whole lot more. I can’t imagine the tedious processes researches have to endure to control every minute factor that could ever exist, just to realize that there was one more that they managed to miss. However, today’s discussion has also taught me a similar lesson of persistence that the first day brought up. While it might be frustrating to encounter repeated failure, if you’re truly passionate about your career, hobbies, and goals, you have to do whatever it takes to reach the result that you desire.


Leave a Reply